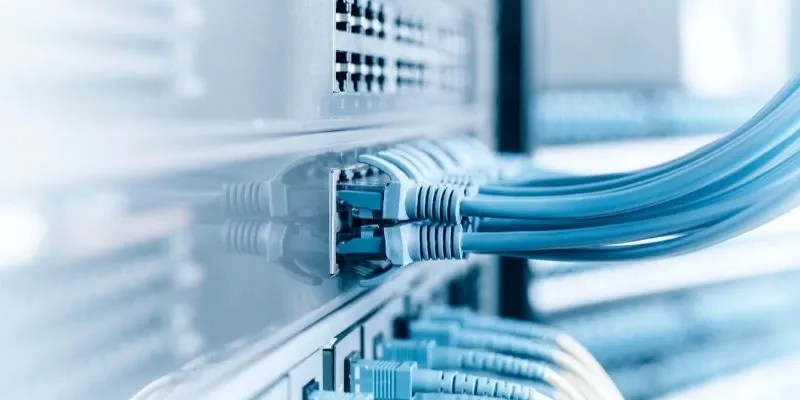
Juniper switches have a reputation for being reliable and flexible, which is why they’re a staple in many enterprise environments. They’re often used at the access, distribution, and core layers of networks where performance and stability are critical. Getting the setup right is the difference between a network that just “works” and one that consistently delivers uptime, security, and scalability.
This guide covers the essentials of setting up a Juniper switch, from first login through VLANs and routing, with practical examples of configuration commands you can put to use immediately.
Getting Started with a New Juniper Switch
Before any configuration, connect to the console port using a terminal emulator like PuTTY or SecureCRT. Out of the box, Juniper switches usually have a default root account with no password set. The first priority is to secure the device:
set system root-authentication plain-text-password
After setting a password, give the switch a hostname so it’s easily identifiable in logs and monitoring tools:
set system host-name Switch01
Next, configure management access. Assign an IP address on the management VLAN (or the default VLAN if nothing else is in place yet), then enable SSH so you can get in remotely:
set interfaces vlan unit 0 family inet address 192.168.1.10/24
set system services ssh
At this point you have a secure switch with remote management in place — a solid foundation for moving forward.

VLAN Configuration
VLANs are one of the most common configuration tasks, and Juniper’s syntax makes it straightforward. Start by creating VLANs and assigning them IDs:
set vlans Marketing vlan-id 10
set vlans Sales vlan-id 20
Once the VLANs are defined, assign switch ports to them:
set interfaces ge-0/0/1 unit 0 family ethernet-switching vlan members Marketing
set interfaces ge-0/0/2 unit 0 family ethernet-switching vlan members Sales
When connecting switches together, configure trunk ports so traffic for multiple VLANs can flow between devices:
set interfaces ge-0/0/10 unit 0 family ethernet-switching port-mode trunk
set interfaces ge-0/0/10 unit 0 family ethernet-switching vlan members [ Marketing Sales ]
This ensures VLAN 10 and VLAN 20 traffic can cross the uplink without issue.
Adding Layer 3 Routing
Some networks leave all routing to upstream routers or firewalls, but Juniper switches can handle inter-VLAN routing if needed. This avoids hair-pinning traffic out of the switch just to come back in, saving latency.
Here’s an example of assigning IP addresses to VLAN interfaces:
set interfaces vlan unit 10 family inet address 10.0.10.1/24
set interfaces vlan unit 20 family inet address 10.0.20.1/24
And if you need an upstream default route:
set routing-options static route 0.0.0.0/0 next-hop 192.168.1.1
This allows devices in VLAN 10 and VLAN 20 to communicate with each other and reach the rest of the network.
Common Configuration Checks
Even experienced engineers occasionally run into issues where traffic doesn’t behave as expected. A few areas to double-check:
Port mode: If a device isn’t getting traffic, confirm whether the interface is set to access or trunk.
Commit changes: Juniper uses a candidate configuration model. Until you run commit, nothing is applied.
SSH availability: If remote access fails, verify both the management IP and the SSH service configuration.
VLAN membership: When traffic won’t pass, confirm that both sides of the link share the same VLANs.
Best Practices for Ongoing Management
Use descriptive names for VLANs, hostnames, and interfaces. A switch full of “VLAN10” and “ge-0/0/x” entries quickly becomes a nightmare to manage.
Back up configurations before upgrades or significant changes. A simple rollback can save hours in a crisis.
Disable unused ports or place them in a restricted VLAN to reduce security risks.
Keep firmware current to benefit from performance improvements and security patches.
Document everything — port assignments, IP addresses, and VLANs should be tracked centrally so future troubleshooting doesn’t turn into detective work.
Scaling Beyond a Single Switch
In enterprise setups, switches rarely run alone. They’re typically deployed in stacks or clusters, or integrated into spine-leaf designs for data centers. Features worth looking at as environments grow include:
Link aggregation (LAG) for combining multiple uplinks into a single logical connection with higher bandwidth.
Spanning Tree Protocol (STP) or RSTP to prevent loops.
QoS (Quality of Service) for prioritizing voice or video traffic.
Port security to limit access to trusted devices.
Configuring these correctly, upfront prevents outages and ensures predictable performance as traffic increases.
Troubleshooting Scenarios
A switch setup guide wouldn’t be complete without covering a few real-world problems:
Device can’t reach the internet: Verify the default route and upstream connectivity.
One VLAN works, another doesn’t: Confirm VLAN membership on both the access and trunk ports.
Slow performance: Check for duplex mismatches on ports — forcing full-duplex on one side and auto on the other can cause hidden issues.
SSH timeout: Look for firewall rules or access lists that may block traffic.
Why Proper Setup Matters
Juniper switches are often deployed in environments where uptime directly affects business operations. A misconfigured trunk port or an overlooked VLAN can lead to outages, lost productivity, or unexpected downtime. For companies moving toward the cloud, stable on-premises networking is equally important. It keeps workloads running while migrations take place and provides the backbone for hybrid architecture.
How ReluTech Supports Juniper Environments
ReluTech works with organizations that want reliable, cost-effective ways to manage their data center hardware. We provide:
Third-party maintenance for Juniper switches and other network gear, helping customers save up to 50–90% compared to OEM contracts.
IT asset buyback and leaseback programs, turning idle or aging gear into budget that can fund cloud projects.
Talent solutions for customers who need experienced engineers to manage networking during migrations.
If your team is looking to optimize existing Juniper hardware while accelerating cloud adoption, get in touch with ReluTech to see how we can help.